Back in our Pioneer days, many of us soldered with a Czechoslovak “instant soldering iron,” for which we bent the tip ourselves from stripped copper electrical wire. Today, a single tip for a modern soldering station costs around €3–5 HUF, so it’s not wise to waste them carelessly! There are plenty of guides online about how to clean your soldering tip, but most of them are just trying to sell the company’s own product — which promises “fast, efficient, perfect, and convenient cleaning.” Well… no. Cleaning is fiddly, slow, and unpleasant — but maybe still worth the effort. There’s no single surefire method: you’ll need to use a combination of different tools and materials!
A new or properly maintained soldering iron works very efficiently, allowing components to be soldered quickly and easily — but over time, an oxide layer builds up on the tip.

If the soldering iron tip is oxidized, the oxide layer acts as a heat insulator and also prevents solder from wetting the tip. As a result, the iron can’t properly heat the components and the solder. The solder melts with difficulty, doesn’t flow along the tip, but instead “beads up” and drips off. Many people respond by turning up the temperature, which only makes things worse. With a hotter tip, you might still be able to solder for a while, but the result is a messy job, and oxidation accelerates even more.
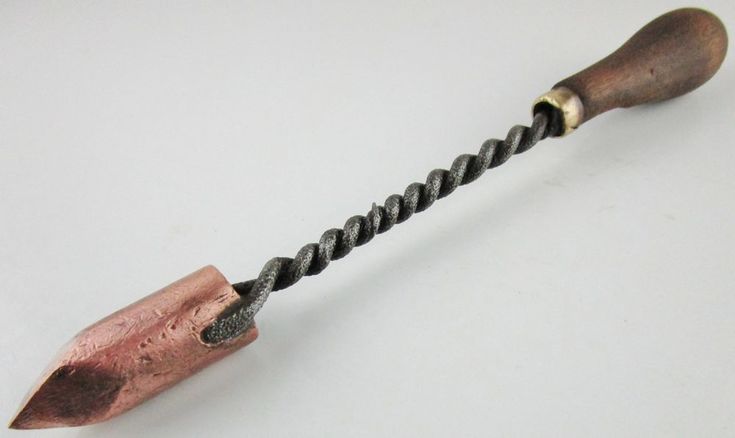
In the past (and still today at some very cheap tools), soldering tips were made of plain copper. These tips were shaped by filing or sanding and had no special coating. They weren’t a problem in terms of cleaning: if they got dirty, you could just press them into a piece of sal ammoniac, or file off the oxidation. As long as the surface stayed well-tinned, oxidation didn’t set in, and they lasted quite a while.
The problem was that copper dissolves into the solder, causing the tip to visibly wear down over time (this is why the old “instant” soldering iron tips eventually broke). Copper contamination also raised the solder’s melting point, resulting in uneven, porous, low-quality joints.
Since the 1980s, copper soldering tips have been coated with iron. This prevents the copper from dissolving into the solder, resulting in a much longer tip lifespan and significantly better soldering quality.
However, the downside of the iron coating is that it oxidizes. Because of this, maintaining and cleaning soldering tips has become more troublesome.

Let me note that no matter how filthy the soldering tip gets, as long as the coating is intact, it doesn’t need to be thrown away — it can still be cleaned. Once the coating wears off or develops holes, the inner copper core begins to dissolve into the solder, and the tip ends up looking like a decayed tooth. It might still be usable for some rough soldering jobs, but it’s no longer suitable for electronics work.

What causes soldering tip oxidation?
Iron oxidation is a natural process, but it occurs much more slowly at room temperature. The high heat involved in soldering dramatically accelerates this reaction. Moisture, acids, and the presence of chloride ions further intensify oxidation.
How to Keep Your Soldering Tip in Good Condition?
Regular cleaning = easier soldering and longer lifespan.
Temperature:
To extend the life of your soldering tip (and to protect components and circuit boards), it’s best to solder at the lowest effective temperature. When using lead-free solder, the recommended temperature is around 235–250 °C. In any case, avoid setting your soldering station above 300–350 °C!
Wiping the tip:
During work, you should occasionally wipe the soldering tip — typically using the damp sponge attached to the soldering iron stand. For beginners (though this might be obvious): only use a proper tip-cleaning sponge (or in fact, any natural sea sponge). Plastic sponges (like kitchen scrubbers) are unsuitable — they melt.
Opinions vary, but in my view, the sponge should always be slightly damp — just a little, not soaking wet. This cleans better and wears down the tip less than using a dry sponge. It’s best to dampen the sponge with distilled water (e.g. ironing water), especially in areas with hard tap water, since limescale can build up on the tip over time.

Rosin-core solder:
A soldering tip heated to around 270–300 °C can often be cleaned effectively using rosin-core solder. The acids in the rosin react with the oxides and remove the oxidized layer, while the molten solder coats the surface. The excess solder and dissolved gunk should then be wiped off with a sponge. For light oxidation, repeating this process three or four times is usually enough to clean the tip.
Kalmopyrin tablet:
Let me also note that Kalmopyrin tablets (a brand of aspirin) make excellent flux for cleaning soldering tips — and for soldering oxidized connectors and wires. Kalmopyrin contains acetylsalicylic acid, a chlorine-free organic acid that reacts with both iron oxide and copper oxide when heated, but does not leave behind any corrosive chlorides.
Before and after:
Always clean the soldering tip before starting work, and again after you’re done.
At the end of your work, apply a small amount of rosin-core solder to the tip and store it tinned like this. This protective solder coating helps prevent oxidation while the iron is not in use.
Turn it off when not in use:
Don’t leave the soldering iron on for long periods — the tip will almost certainly oxidize. Soldering tips oxidize when exposed to air, and even more so when hot!
Some advanced soldering stations feature an automatic sleep mode, which activates after a period of inactivity. By automatically turning off the heating element, they significantly extend the lifespan of the tip. If your soldering station has this feature, use it!
If Your Tip Is Already Dirty
Soldering Fluid:
One of the most common traditional methods for cleaning a soldering tip is to dip it into so-called soldering fluid at the end of soldering. Contrary to popular belief, the “soldering water” used by tinsmiths is not hydrochloric acid, but a solution of zinc chloride and ammonium chloride (sal ammoniac) in water. Dipping the hot tip into this fluid can effectively remove grime, but be careful — the chloride content makes it corrosive, so ensure that only the tip comes into contact with it.
The misconception about hydrochloric acid likely comes from the fact that soldering fluid is often prepared by dissolving zinc into industrial-grade hydrochloric acid (sometimes with added sal ammoniac). This acid is typically 30% by mass (not the fuming 37% “concentrated” kind), but even so, its pH is below 1 — it’s a highly corrosive, hazardous substance!
Once the zinc dissolves, the resulting fluid has a milder pH of around 4 (comparable to lemon juice). According to safety data sheets, gloves are recommended — but at the very least, wear safety goggles, as it may splash.
You can make the solution at home by dissolving zinc in hydrochloric acid (available from paint stores), but it’s usually not worth the hassle. Some electronics shops sell “microelectronic soldering fluid” in 50–250 ml bottles, but for the same price (or less), you can buy 500–1000 ml of “tinsmith soldering fluid” from welding supply stores — and despite marketing claims, they’re exactly the same thing (though the latter may come in a less fancy bottle).
Copper Wool:
The baked-on oxide layer should first be removed mechanically. The best tools for this are fine copper shavings, a copper brush, or — for stubborn grime — a brass wire wheel mounted in a drill (make sure it’s actual brass, not just copper-coated steel!).


Scrubbing should be done gently — there’s no need to press the brush down hard! The goal is not to remove the iron coating, only the oxide layer. You can brush the tip either cold or hot — some people swear by cleaning it while hot, but in my opinion, it doesn’t really matter.
Wire wheels can break during use, and tiny copper strands may fly off — so always wear safety goggles when using them!
Some people try using sandpaper to scrub the tip — but that’s not a good idea!
First, sandpaper removes not only the oxide layer, but also the protective coating on the soldering tip, and leaves behind deep scratches that trap dirt and promote further oxidation.
Second, sandpaper leaves behind tiny abrasive particles, dust, and oxide residues that are often invisible to the naked eye. These can degrade the quality of future solder joints.
Copper is softer than the tip’s coating, so it doesn’t wear it down as much. This is also why steel wire brushes are unsuitable — they strip away the protective layer.
Cleaning Paste:
Don’t expect the tip to be perfectly clean just after brushing — it’s enough to remove the bulk of the crust. The next step is to use soldering tip cleaning paste.
This should be applied hot, with the ideal tip temperature between 300–360 °C.
Press the hot tip into the paste, rotate it gently, then remove it and wipe off any remaining residue with a damp sponge.
It probably won’t be perfect on the first try — you may need to repeat the process once or twice. (If it still doesn’t work, go back and scrub the tip again before trying the paste.)
These cleaning pastes are sold under various brands and prices, but the good ones are all the same: a grayish, slightly metallic, greasy-looking substance.
Branded and no-name versions are chemically identical (a rare case where this is true): they’re all a mixture of sodium aluminum phosphate (baking additive E541) and tin powder. When heated, the mixture melts into a slightly acidic slurry that removes oxide, while the tin re-tins the cleaned metal surface.

Personally, I’ve found that good old rosin-core solder works even better than cleaning paste. After scrubbing the soldering tip with a copper brush, I heat it up and generously tin it with solder. I don’t wipe it off — I let the solder flow over the entire surface, and any excess simply drips off. This leaves a nice, protective coating, perfect for storage.
I’m not sure if I should say this, but for this purpose, the old leaded rosin-core solder actually works better than the modern lead-free types.