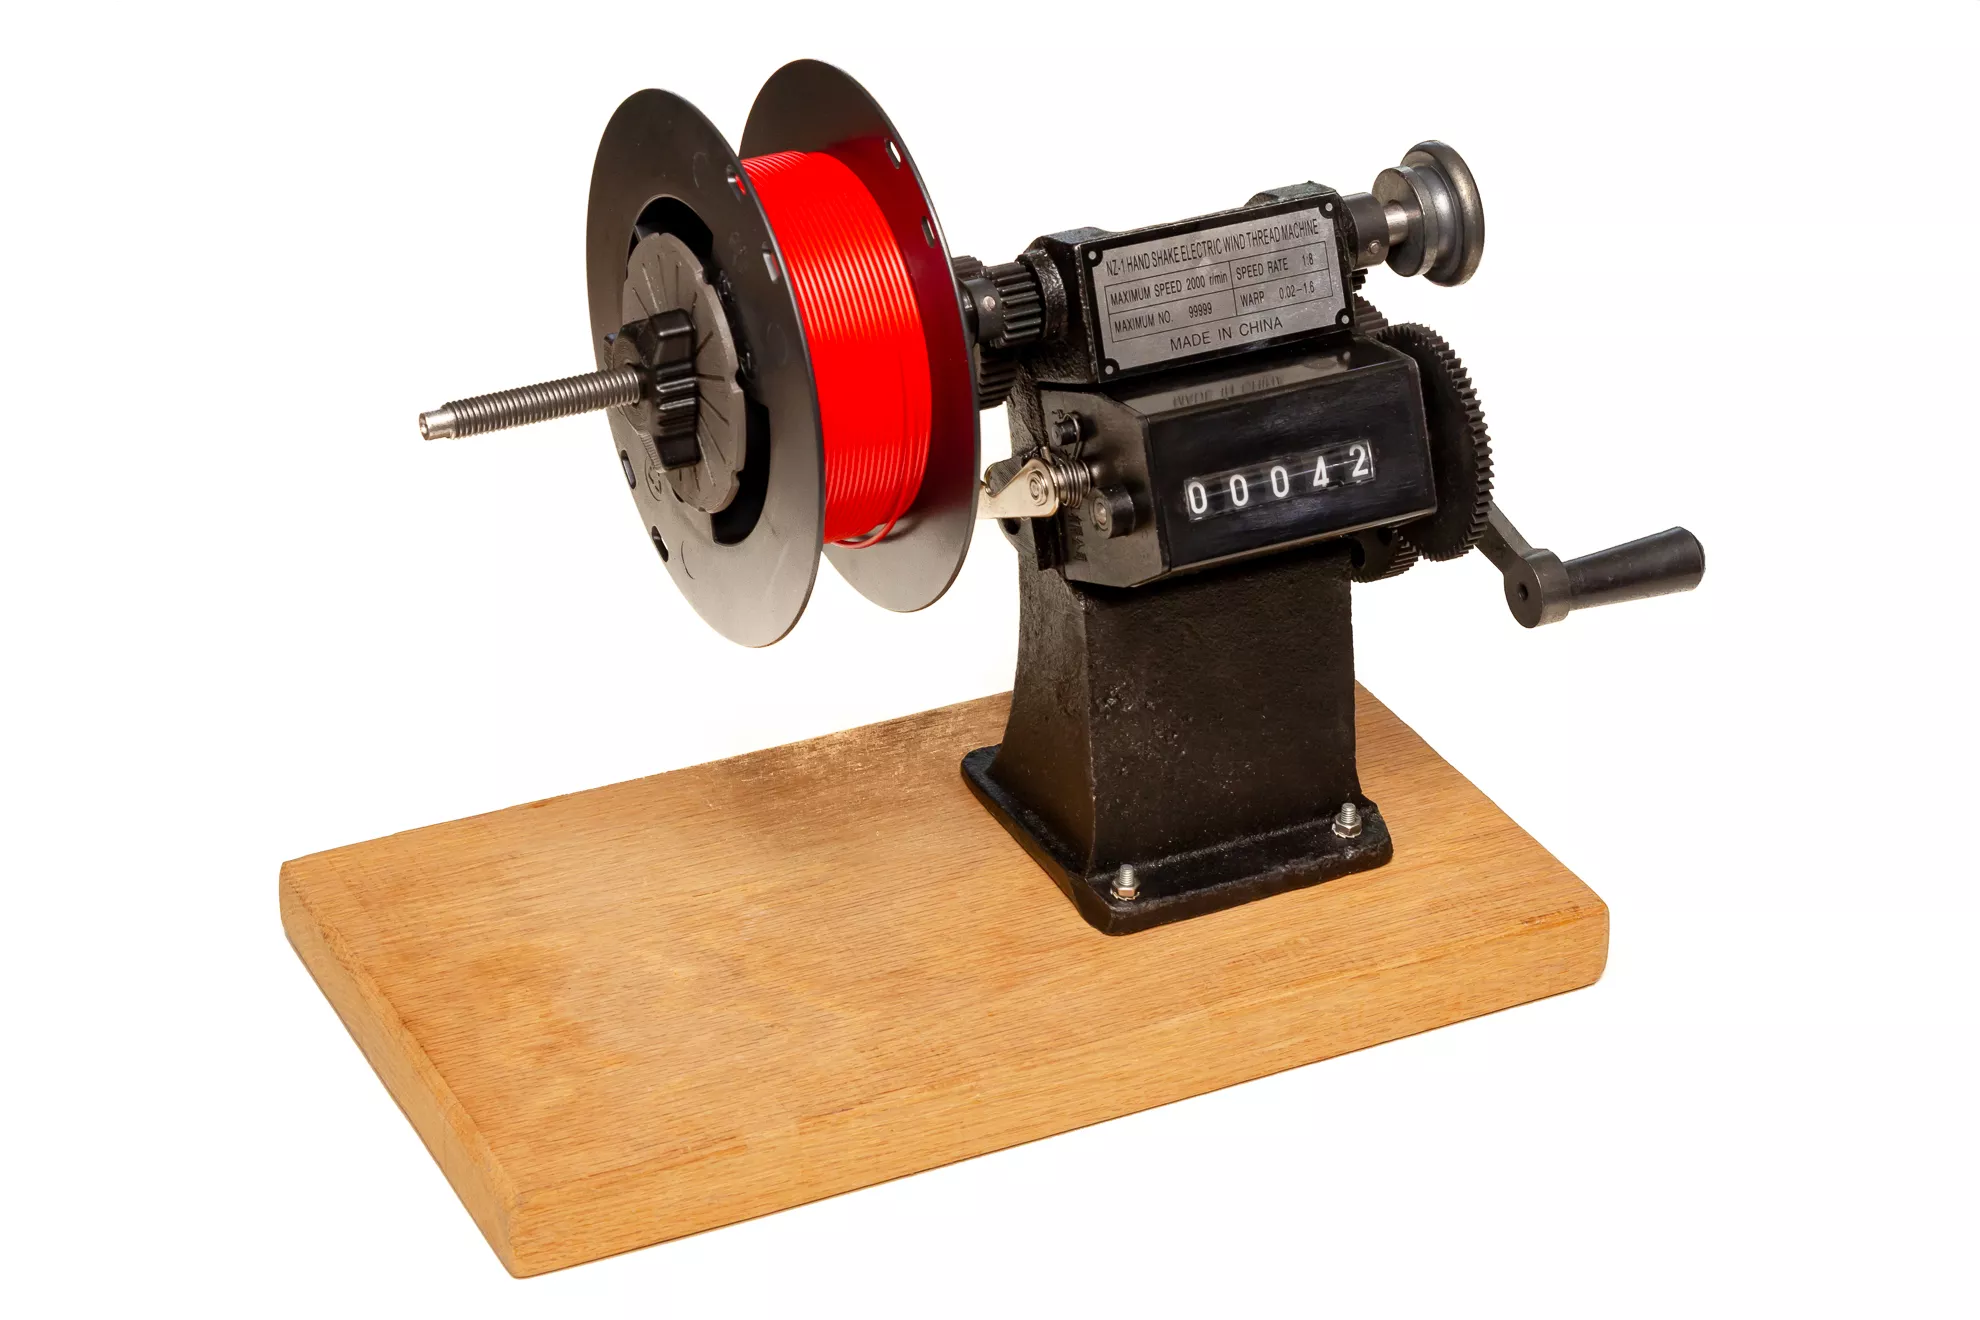
The device shown in the picture is the NZ-1 hand winding machine: a simple mechanical tool used to wind neat coils from wire, thin electrical conductor, or other filament-like material. It is not an automatic wonder machine, nor a CNC-controlled industrial device, but a cheap Chinese gadget. I bought it for about 30 euros.
Its operation is simple: by turning the crank, the clamped spool or former begins to rotate, while the mechanical counter keeps track of the number of turns. This is important when winding coils. The machine is worth fastening to a stable workbench. The wire has to be guided by hand, which means that achieving nicely aligned turns takes some practice, attention, and patience.
Winding transformers by hand is a fiddly job, although I made quite a few of them when I was younger. These days, most DIY enthusiasts do not need a serious winding machine, but a cheap little thing like this can be useful around the house. You can justify it to your wife by saying that it can also be used for winding sewing thread or embroidery floss. And of course fishing line and 3D printer filament too, but that part need not be mentioned…
Machines like this are intended for making small coils, typically for hobby electronics, educational use, or small workshop tasks. It can handle a maximum coil diameter of about 150 millimetres and a coil width of around 100 millimetres. It has a belt pulley — although in my opinion that is mostly meant for a foot-powered sewing machine — so it can even be driven by an electric motor, but it is not really worth doing. Hand-cranked operation is more than enough for experimental radio coils, small electromagnets, relay coils, and sensor coils.
The problem is that its shaft is an M10 threaded rod. Because of this, it cannot handle very small coils, only formers that can be slipped onto the ∅10 mm shaft. The Chinese manufacturer apparently thought that supplying two plastic cones and an M10 clamping screw would make the whole thing work. Perhaps. But in most cases the problem is that the screw has to be tightened very firmly to prevent the coil former from slipping on the shaft. If the coil slips, the turn count will be inaccurate.
I made a drive faceplate for it from black ABS using 3D printing, to provide a rigid drive for the coil former. I fixed this to the shaft of the winding machine with an M4 grub screw; I ground a small recess into the shaft for the screw.
For easier printing, the faceplate consists of two parts: one is the hub itself, which holds it on the shaft, and the other is a flat, ribbed disc. The two parts have to be glued together.
To match the ribs of the disc, I printed various cones and pyramidal adapters for clamping different coil formers. There are flatter and steeper cones, a pyramid for bobbins used in EI transformers, and a special prism for the SU48b. The set can be expanded as needed.
I also made a replacement clamping nut: a standard M10 nut is glued into the wheel, making it easier to tighten by hand.
The STL files required for 3D printing can be found here: https://www.printables.com/model/1702809-tuning-a-hand-winding-machine-nz-1